
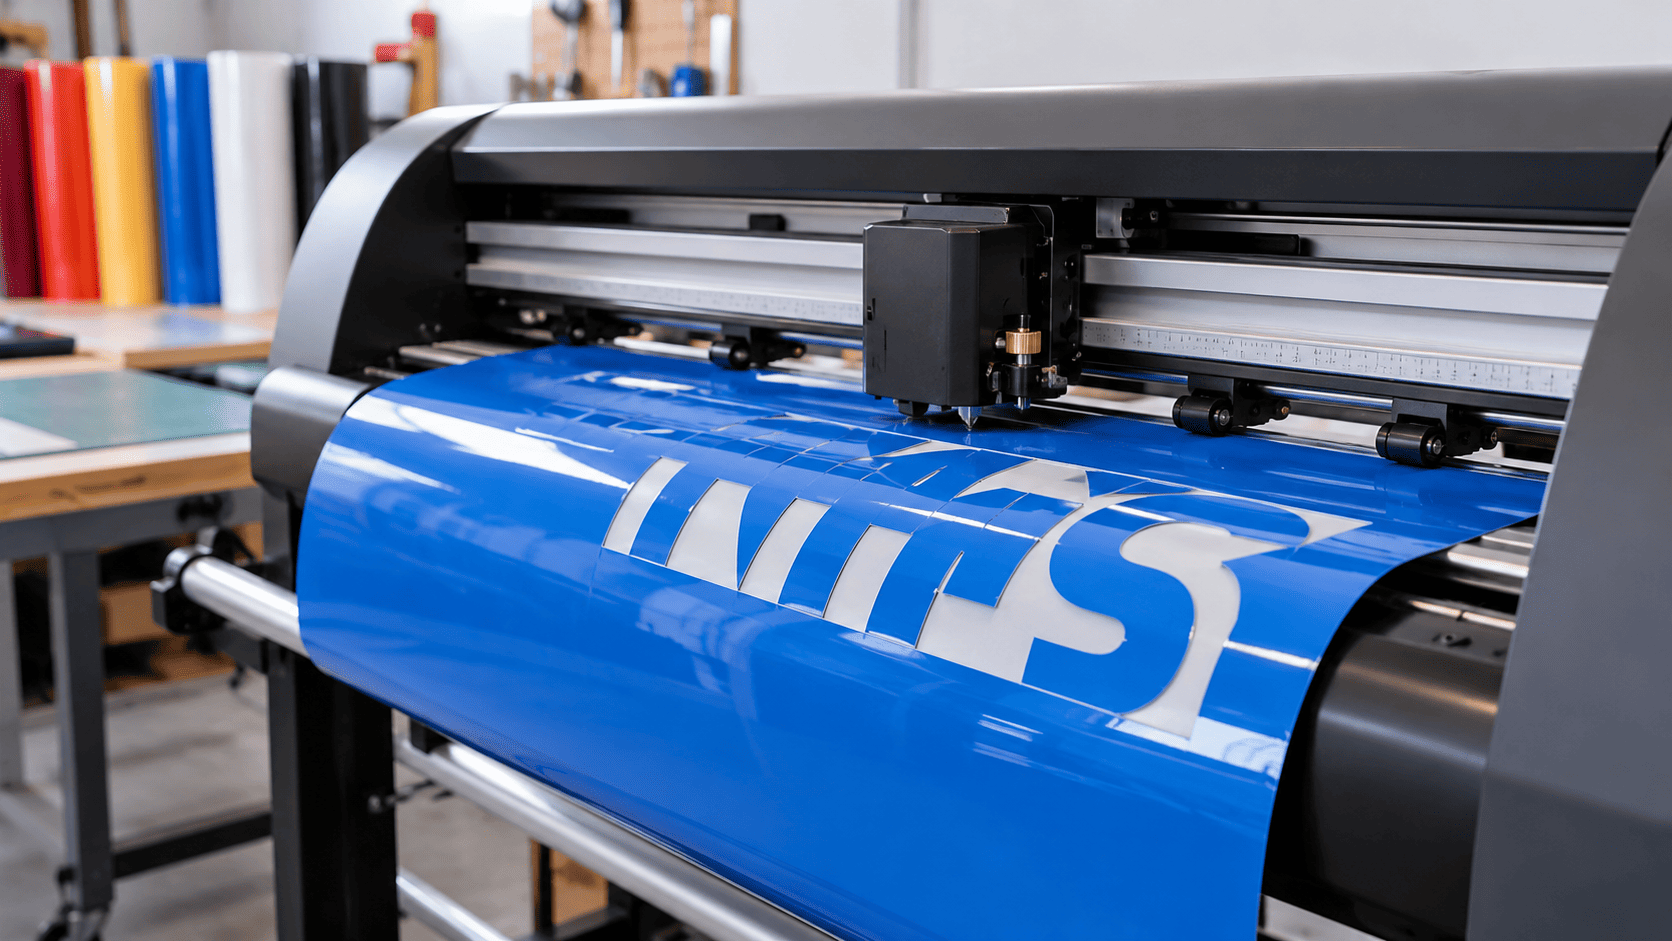
A vinyl bubble, poorly cut letters or an uneven spacing can ruin an otherwise well designed sign and make it look unprofessional. For sign makers, these small errors can mean wasted materials, rework and delays in fulfilling customer orders.
The right equipment helps you avoid common production problems like:
- Inconsistent cuts: Lettering, logos and detailed graphics can be affected by the accuracy of the cuts.
- Uneven vinyl application: Incorrect tools can leave bubbles, wrinkles or visible marks.
- Measurement errors: Misaligned graphics can make a finished sign look terrible.
Bi-Wize understands the importance of choosing suitable equipment for professional signage work. This blog covers essential professional sign making tools in Australia, explaining what each tool does and what to consider before investing in it.
Most sign makers get through the day with a cutting plotter, vinyl squeegees, application tape, precision knives and a decent set of measuring tools. A signage making tool checklist makes it easier to buy for your own materials, volume and installs instead of copying someone else’s setup. Bi-wize suggests how getting the combination right and your finishes stay consistent and you make fewer mistakes you could have avoided.
1. Why Does Every Sign Maker Need a Vinyl Cutting Plotter?
A vinyl cutting plotter cuts lettering, logos, graphics and shapes out of adhesive vinyl straight from your digital design. You’ll use it constantly for vehicle graphics, shopfront lettering, promo signs and custom decals.
Before you buy one, check these:
- Cutting width: Pick a size that matches the jobs you do most.
- Cutting accuracy: Test how it handles small lettering and fine detail.
- Material compatibility: Make sure it cuts the vinyl you actually use.
- Software compatibility: Confirm it plays nicely with the design software you already have.
A plotter that fits your workload saves you from cutting by hand and makes repeat orders look the same every time.
Practical tip: Look at the sizes and materials in your last few months of orders before you buy a bigger machine. Extra width is wasted money if your jobs never need it.
2. How Do Squeegees Improve Vinyl Application?
A squeegee presses vinyl down onto the surface and pushes out air bubbles and wrinkles as you work. It’s probably the tool you’ll pick up most when applying graphics to glass, panels and vehicles. Which one you use depends on the vinyl and the surface.
| Consideration | Battery replacement | New phone |
| Upfront cost | Usually lower | Usually higher |
| Battery life | Can improve a lot | Starts with a fresh battery |
| Features | Keeps your existing hardware | May offer newer features |
| Data transfer | Usually not needed, but back up first | Usually needed |
| Long-term value | Depends on the phone’s overall condition | Depends on the price you pay and how long it lasts |
Keep a few on hand. A squeegee that’s fine on a rigid sign panel can be too rough for delicate film or a high-gloss finish.
Wipe the working edge clean regularly and throw out any that are damaged. Even a small nick will leave marks you can see.
3. When Should Sign Makers Use Application Tape?
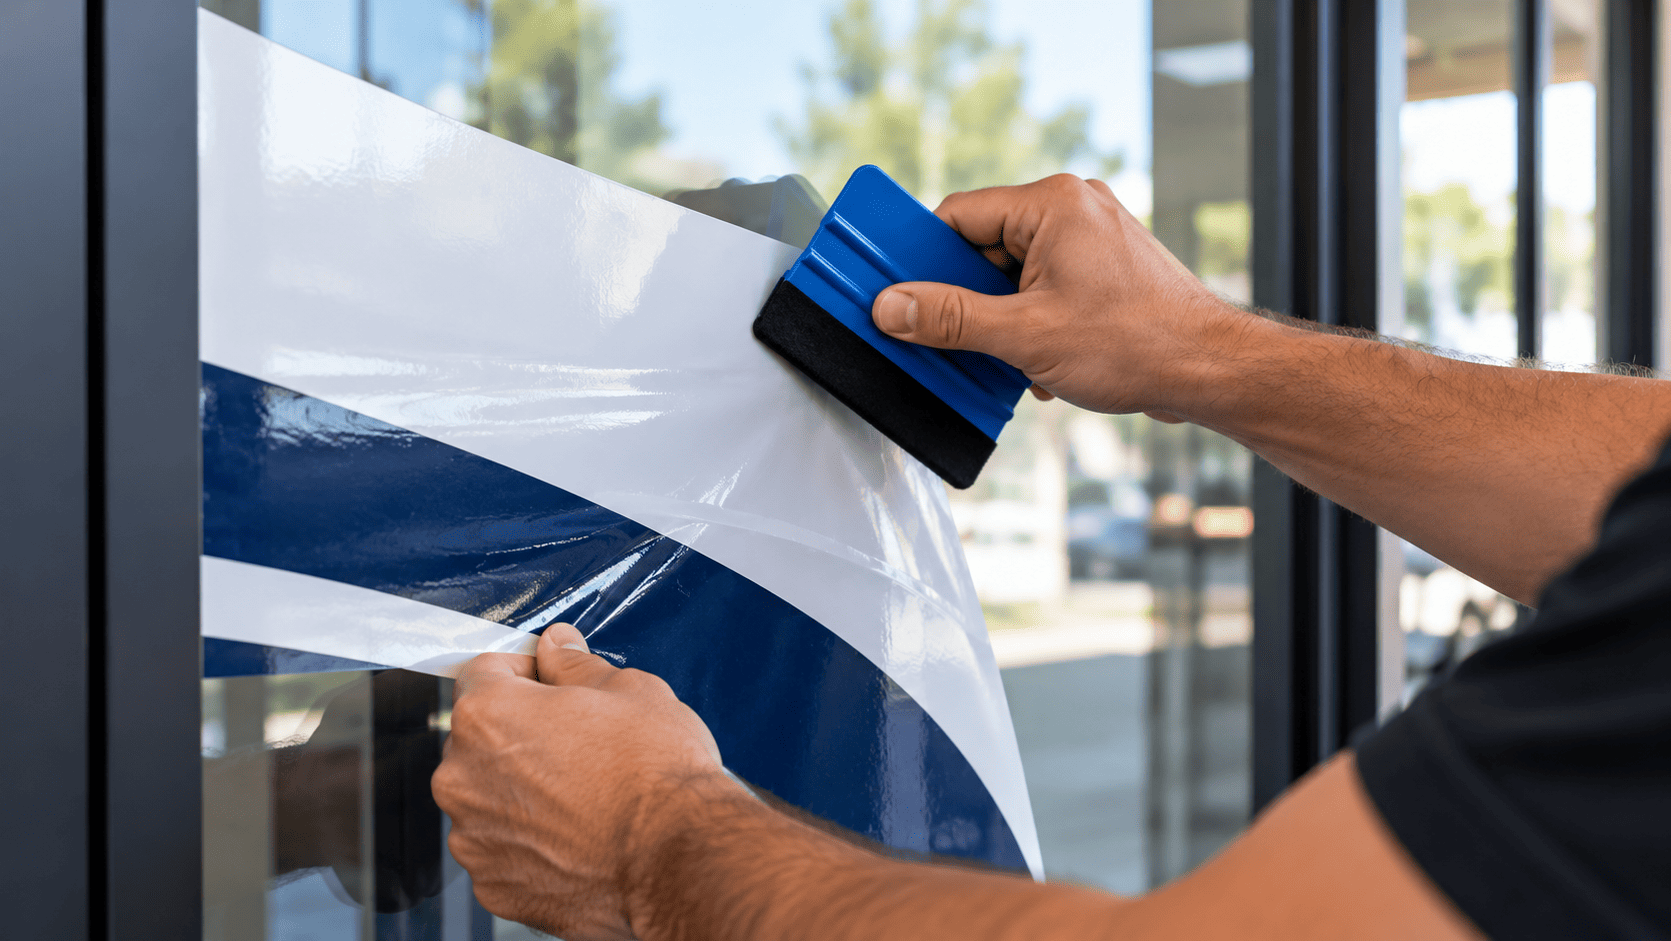
Application tape lifts cut vinyl off its backing paper and holds it in place while you move it to the surface. That keeps letters and graphics lined up, which matters most on detailed designs or jobs with lots of separate letters.
Choose the tape based on your vinyl, the size of the graphic and how you’re applying it.
- Paper application tape: A solid choice for most standard vinyl graphics.
- Clear application tape: Lets you see through the tape when alignment is fiddly.
- Different tack levels: Match the stickiness to the vinyl and its backing.
If the tack is too strong, the transfer is a struggle. If it’s too weak, bits of the design stay behind on the backing.
Test the tape on a small section before you apply a big graphic. It takes a minute and can save the whole job.
4. Which Cutting and Trimming Tools Are Essential?
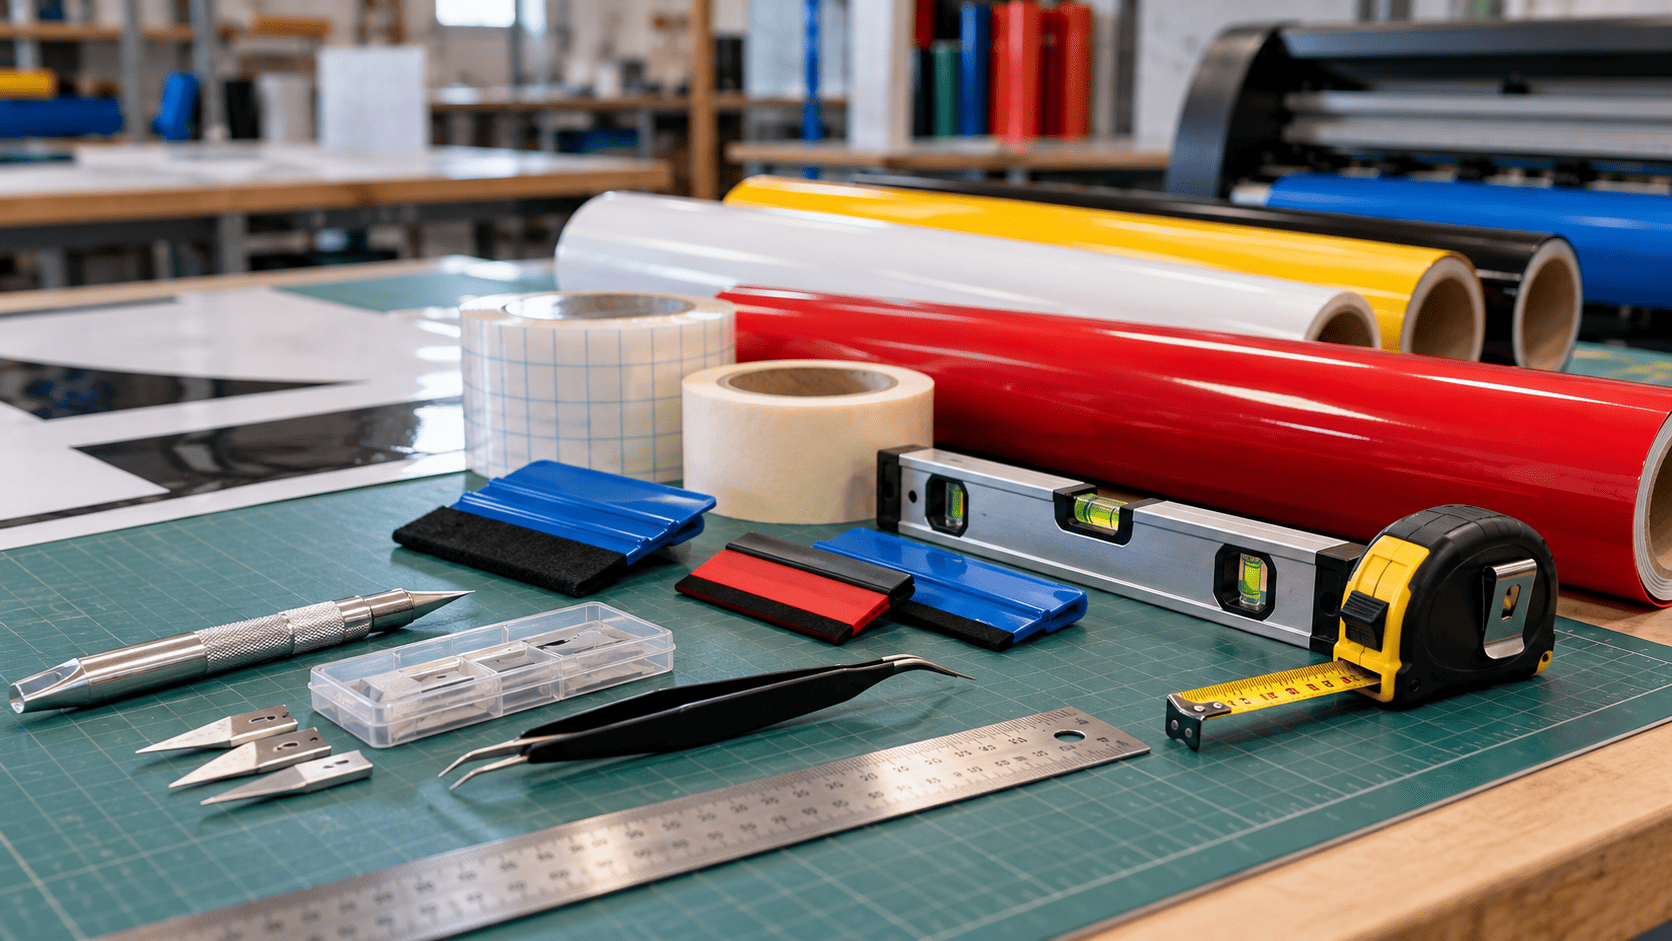
Precision knives and spare blades are how you trim vinyl, pull out excess material and finish off detailed graphics. They’re what you reach for when you’re tidying corners and working around tricky shapes.
A reliable sign maker toolkit should have:
- A precision knife for controlled trimming.
- Replacement blades so your cuts stay clean.
- Tweezers for lifting tiny pieces of excess vinyl.
- A cutting mat to protect your work surfaces.
- A ruler or straightedge for accurate trimming.
Blade condition matters more than most people think. A blunt blade drags the vinyl, leaves ragged edges and can mark the material underneath. Change it as soon as it stops cutting cleanly, and put sharp tools away safely between jobs.
Match the tool to the material, too. If a blade is made for thin film, don’t try to force it through a thick substrate.
5. What Measuring Tools Help Produce Accurate Signage?
Measuring tools let you place graphics properly, keep spacing even and line signage up with what’s around it. A perfectly cut design still looks sloppy if it sits crooked or doesn’t match the window frame next to it.
You’ll want tape measures, steel rulers, spirit levels and some alignment guides. On bigger installs, a laser measure can make distances and positioning easier, depending on the site.
Before you install, check:
- The space available and the sign dimensions you’re working to.
- Letter spacing and alignment.
- Where the edges, windows, panels or mounting points sit.
- Whether the surface is level and suitable.
- Any access issues that could change where the sign goes.
Measure the installation area before you finalise the graphic. Working from guessed dimensions is how you end up wasting vinyl, reprinting and making fixes on site.
How Can You Choose the Right Signage Tools for Your Business?
The best equipment depends on the work you do most, the materials you use and how precise your projects need to be. A small workshop making decals needs something quite different from a business installing large-format graphics.
Run through this checklist when you review your equipment:
| Consideration | What to check |
| Project types | Vehicle graphics, shopfronts, indoor signs or large panels. |
| Material range | Vinyl types, surface finishes and substrate compatibility. |
| Production volume | How often each tool will be used. |
| Maintenance | Blade replacement, cleaning and machine servicing. |
| Working conditions | Workshop space, installation access and storage. |
When you’re sourcing sign making supplies in Melbourne, compare specs, material compatibility and how easy it is to get replacement parts. Don’t buy on price alone.
A small kit of dependable tools beats a big collection that doesn’t suit the jobs you actually do.
Conclusion
The right tools help you cut accurately, apply vinyl cleanly and position graphics consistently. A vinyl cutting plotter, a few suitable squeegees, application tape, precision cutting tools and measuring equipment are a practical starting point for most signage businesses.
When you choose professional sign making tools in Australia, begin with your real projects, materials and production volume. Look at what you have now, note the problems that keep coming up and spend your money on tools that fix them.
FAQs
What Is the Most Important Tool for a Sign Maker?
It depends on the work. For many businesses producing cut lettering and graphics, it’s the vinyl cutting plotter. For application and installation, squeegees and measuring tools matter most.
How Often Should Sign-Making Blades Be Replaced?
Replace a blade when it goes dull, starts dragging the material or stops cutting cleanly. How often that happens depends on what you cut, how much you use it and the quality of the blade. Check your blades regularly so you don’t find out halfway through a job.
Can the Same Squeegee Be Used for Every Vinyl Application?
Not always. Different vinyl finishes and surfaces need different pressure or edge softness, and the right squeegee helps you avoid scratches, bubbles and marks. Try unfamiliar materials on a test piece before starting a large or highly visible install.